
Zipper Pouch with Floral Suitcase by Geri Beam July 2025
- geribeam
- Jul 17, 2025
- 3 min read

Have you ever wanted to personalize a little zipper pouch for your travels? This tutorial will walk you through how to take a wonderful image, transfer it to fabric and personalize it.
Supplies needed:
JWCF 1195 Floral Suitcase digital cut file
Zipper pouch – pre-made 100% cotton canvas zipper pouch

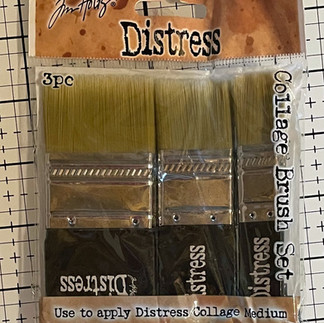
Paint pallet and paint brushes. Used Tim Holtz collage brushes for applying gel medium.
Iron and parchment paper
Rice paper cut to fit your printer
GAC 900 by Golden Fabric Painting medium

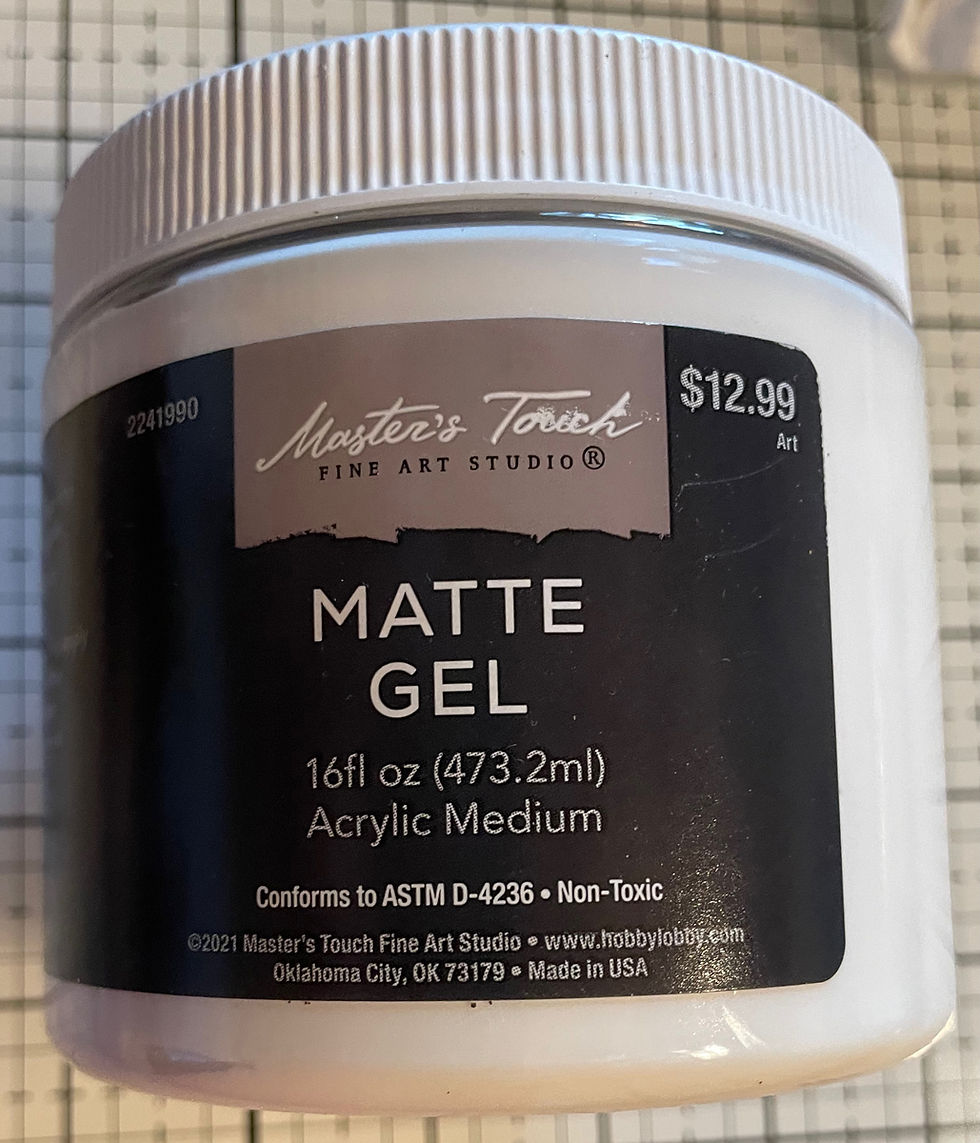
Matte Gel medium – any brand


Iridescent medium – by Liquitex (optional)

Watercolor pencils – Used Tim Holtz brand – colors: Kitsch Flamingo, Picked Raspberry, Worn Lipstick, Shabby Shutters, Lucky Clover, Fossilized Amber, Rustic Wilderness, Ground Express, Twisted Citron and Black soot


Stickles by Ranger – colors: Thistle, Lime Green, Sunburst and Grapefruit

Fabric paint – Used Tim Hotlz Distress Paint – colors: Salvaged Patina and Vintage Photo

Posca pen – color gold and black
Step-by-Step Instructions:
Download the JWCF 1195 Floral Suitcase digital jpg file. You will not need the cut file for this project. You will be using the jpg file only.
Measure the size of the zipper pouch.
Resize the jpg file to fit the size of the bag and print on a piece of rice paper.

Using a brush that has water on it trace a rough outline around the image.

Gently tear the image from the rest of the page to get a nice ragged edge.

Check to see that the image fits nicely on the bag.

Use a broad brush to put a generous amount of gel medium onto the bag. Make sure you cover the area the size of the entire image. Place the rice paper on top of the gel medium and use fingers or scraper to remove any bubbles and that the paper lies flat.

Apply another layer of gel medium on top of the rice paper. Let it dry completely before proceeding.
This step is optional – but I find it gives a little extra luminesce to the flowers. Use a smaller brush to apply iridescent medium on top of the roses. Let it dry completely before proceeding.

Use any watercolor pencils and paint to color your image.
My methods:
I love using Tim Holtz watercolor pencils. They are vibrant and easy to use.
Pour a little bit of GAC 900 into a well on the pallet.
Dip the pencil into GAC 900 instead of water. This seals the pencil or paint to the fabric and will allow you to heat set it later.
Use a small brush to pick up the color from the top of the pencil.
Paint the portion of the image with the color. While it is wet you can blend the colors before they dry.
Use caution when painting, the rice paper may begin to tear if you use too much liquid. Consider practicing on another image before doing the one on the zipper pouch.
After being finished with a specific color, use a wet paper towel to remove the GAC 900 from the top of the pencil. This allows the pencil to be used as a watercolor pencil and not have a dried film on top.
Use the watercolor pencils for the suitcase and the flowers. Use the paint to do the background around the image.

Let the paint and pencil completely dry. Apply another layer of gel medium on top of the painted image. Let it dry completely before proceeding.
A few helpful tips I learned with this project concern waiting for the proper step to apply products. They are:
Posca paint will run when it gets wet. Wait until after the gel medium is dried and heat set on top of the paint and pencils.
Stickles will be dull after placing gel medium on top. Wait until after the gel medium is dried and heat set on top of the paint and pencils.
Once gel medium is completely dry use a hot dry iron to heat set the image. Use parchment paper under and over the bag to prevent anything transferring to the iron.
Add final touches with Posca paint pens and Stickles to give sparkle and shine.

While this pouch is not waterproof the gel medium will protect the image from being smeared when liquid splashes (unintentionally) on it.
Take this with you when traveling and impress people when you say you made it!


Comments